Are you a fan of the dazzling, flowing hair seen on the characters in Winx Club? Do you ever wonder how artists create those intricate, almost magical hairstyles in their digital art? Well, you're in for a treat! This article is all about helping you bring that unique "couture" Winx Club hair style to life using Paint Tool SAI, a popular program for digital artists, and then sharing your awesome creations on DeviantArt. We're going to break down the process step by step, making it easy for you to follow along and add that special sparkle to your own characters. It's truly a fun way to express your artistic side, and, you know, it’s quite rewarding when you see your work come together.
So, you're looking to draw hair that has that signature Winx Club flair, perhaps a bit more detailed and fancy than usual? That’s what "couture" means here – a focus on elegance and elaborate design. Paint Tool SAI, with its smooth line art and blending capabilities, is, like, a really good choice for this kind of work. It allows for a lot of precision, which is something you need when you're drawing hair with so many individual strands and highlights.
This guide will walk you through everything, from picking the right tools in SAI to adding those final shimmering touches. We’ll even talk about how to get your art noticed on DeviantArt. You'll soon be creating Winx Club couture hair that looks like it could practically float off the screen. Just a little patience, and you'll get there.
- Was William Mcintosh Bad
- Sprayground Pink
- What To Draw To Represent The Crossover
- Deadly Sins Elizabeth
- Types Of Eucalyptus
(A quick note: The information provided about "My text" regarding the Win+X quick link menu in Windows 11 is not relevant to this art tutorial and will not be incorporated into the content of this post.)
Table of Contents
- Why Winx Club Couture Hair?
- Getting Started with Paint Tool SAI
- Step-by-Step Winx Club Couture Hair Tutorial
- Tips for DeviantArt Success
- Common Questions About Digital Hair Art
- Conclusion
Why Winx Club Couture Hair?
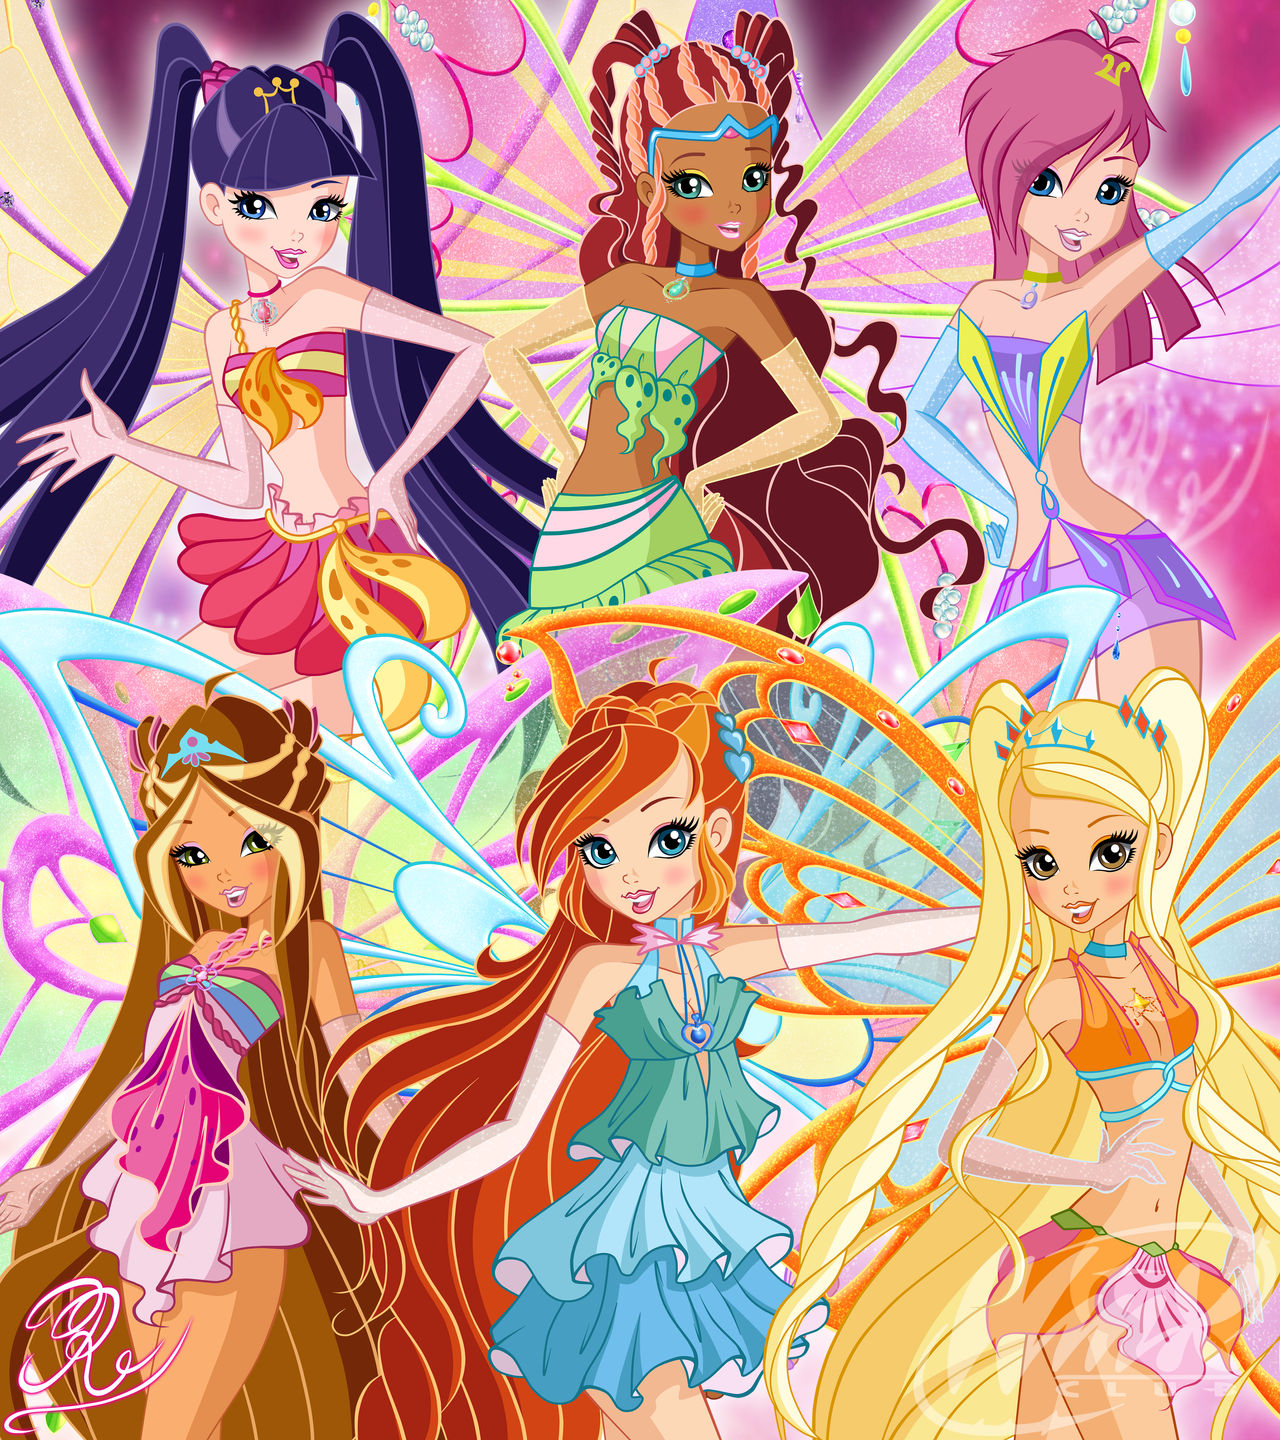
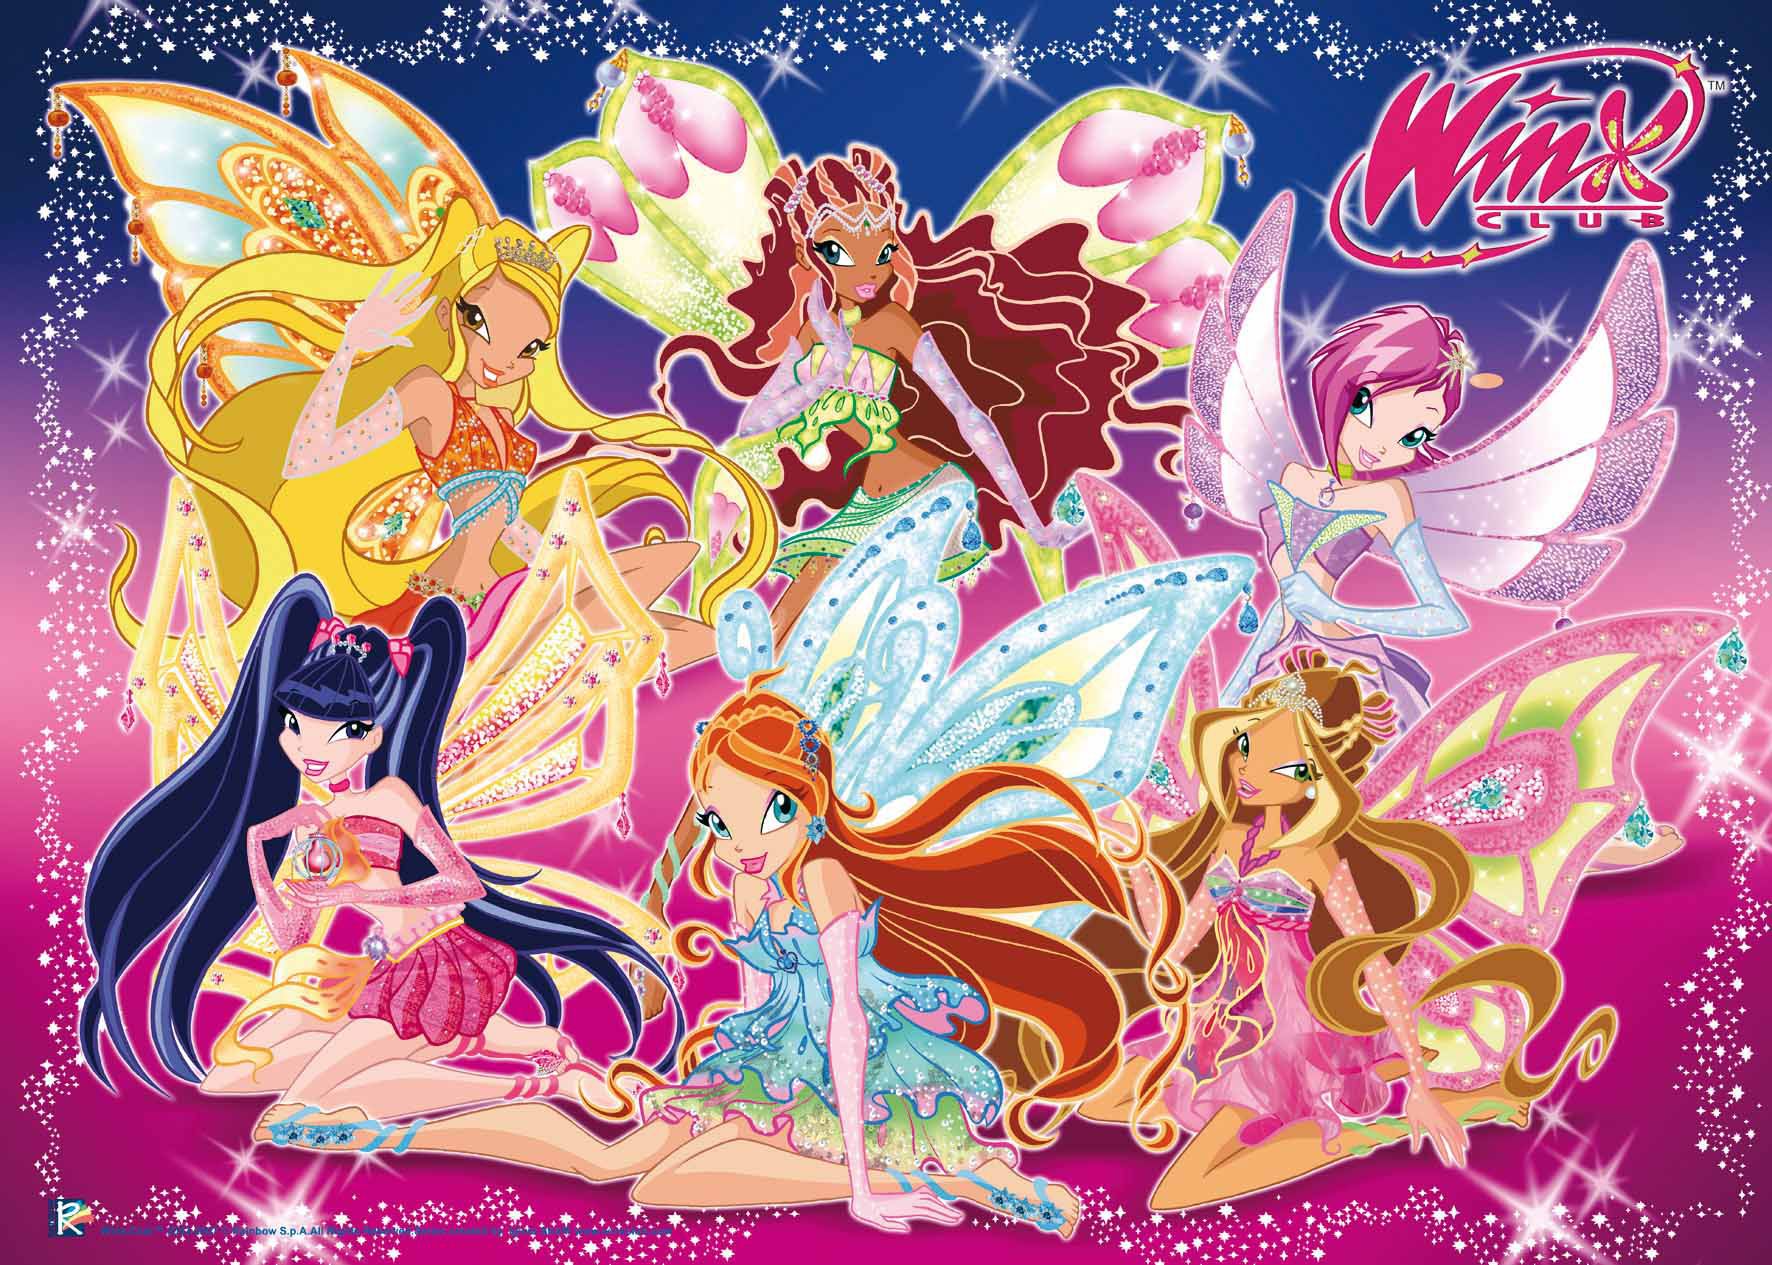
Winx Club has a truly special place in the hearts of many, and its art style, especially the character designs, is a big part of that appeal. The hair on these characters is, you know, often a standout feature. It's not just hair; it’s an extension of their magical identity, often flowing and full of movement.
The Magic of Winx Style
The Winx Club art style is known for its vibrant colors, dynamic poses, and, of course, the incredibly expressive hair. Each character's hair often tells a story, reflecting their personality and powers. Bloom's fiery red hair, for instance, is quite iconic. It’s almost like a character in itself. Artists who draw Winx Club fan art often spend a good deal of time getting the hair just right, because it adds so much to the overall look.
- Horror Film Posters
- Chrysanthemum Drawing
- Spongebob Squarepants Fish Characters
- Crochet Swimsuit
- Baddie Captions
Capturing this style means paying attention to how the hair flows, how it catches the light, and how it frames the face. It’s about creating a sense of energy and lightness. You want the hair to look like it's, you know, almost alive, moving with the character.
What "Couture" Means for Hair
When we talk about "couture" Winx Club hair, we’re thinking beyond just the basic style. We're aiming for something more refined, more detailed, and perhaps a bit more elaborate. Imagine the hair from a special transformation or a high-fashion Winx outfit. It might have more individual strands, more complex highlights, or even decorative elements woven into it.
This approach means focusing on the small details that make the hair truly pop. It’s about creating a sense of luxury and artistry in every strand. Think about how a fashion designer adds tiny beads or intricate embroidery to a dress; we’re doing something similar with digital hair. It’s, like, a way to show off your skill.
Getting Started with Paint Tool SAI
Paint Tool SAI is a fantastic program for digital painting, especially for line art and smooth blending. Its user-friendly interface makes it a favorite among artists, particularly those working on anime or cartoon styles. It's, you know, pretty straightforward once you get the hang of it.
Essential SAI Tools for Hair
To create beautiful Winx Club hair, you’ll want to get familiar with a few key tools in Paint Tool SAI:
- Pen/Pencil Tool: Great for sketching the initial flow of the hair and creating clean line art. You can adjust its stabilization settings to get very smooth lines, which is, like, super helpful for hair.
- Brush Tool: This is your main tool for laying down colors and doing most of your blending. Experiment with different brush textures. A standard round brush works well, but a slightly textured brush can also add a nice effect for hair strands.
- Water/Blur Tool: Essential for blending colors smoothly and creating soft transitions between shades. This tool helps give the hair that soft, flowing look. You know, it makes things look less harsh.
- Eraser Tool: For cleaning up mistakes and shaping the hair. You can use a soft eraser to gently fade edges or a hard one for sharp cuts.
- Selection Tools: Useful for isolating areas of the hair to apply color or effects without affecting other parts of your drawing. The magic wand tool can be, like, really quick for this.
Setting Up Your Canvas
Before you start drawing, it’s good to set up your canvas properly.
- New File: Open Paint Tool SAI and create a new file. A common size for digital art is around 2000-3000 pixels on the longest side, but you can adjust this based on your needs. A higher resolution means more detail can be added, and the image will look better when printed or viewed up close.
- Resolution: Set the resolution to at least 300 DPI (dots per inch) for good quality, especially if you plan to print your art.
- Layers: Get into the habit of using multiple layers. You’ll want separate layers for your sketch, line art, base colors, shading, and highlights. This keeps your work organized and allows for easy adjustments without messing up other parts of your drawing. It’s, like, a really smart way to work.
Step-by-Step Winx Club Couture Hair Tutorial
Now, let’s get to the fun part: drawing the hair itself! This process breaks down the hair into manageable steps, building up from basic shapes to intricate details.
Sketching the Flow
The first step is to capture the overall shape and movement of the hair. Think of it as mapping out where the hair will go.
- Rough Outline: On a new layer (set to "Multiply" or "Normal" with low opacity), use the Pen or Pencil tool to sketch the general shape of the hair. Don't worry about individual strands yet. Focus on the main masses and how they frame the character’s face and shoulders. Is the hair long, short, curly, or straight? How does it fall?
- Directional Lines: Add lines within these masses to indicate the direction of hair growth and flow. This helps establish the volume and movement. Think about how the hair would react to wind or gravity. You know, give it some life.
- Hairline and Part: Define the hairline around the face and where the hair parts. This gives a natural look.
Laying Down Base Colors
Once your sketch is ready, it's time to add the main colors.
- New Layer (Under Sketch): Create a new layer beneath your sketch layer. This is where your base color will go.
- Flat Color: Use the Brush tool to fill in the entire area of the hair with a single, solid base color. Choose a color that represents the main shade of the hair. For example, a medium brown for brown hair, or a deep blue for blue hair. Make sure there are no gaps. This is, like, your foundation.
- Clip Group (Optional but Recommended): If you want to keep all your subsequent hair layers within the boundaries of this base color, right-click on your base color layer and select "Create Clipping Group." All new layers above it will now only show where the base color is present. This is, you know, really handy.
Adding Shading and Volume
Shading gives the hair its three-dimensional form and depth.
- New Layer (Above Base Color): Create a new layer for your shadows. Set its blending mode to "Multiply" or "Shade" for natural-looking shadows.
- Darker Tones: Pick a darker shade of your base hair color. Using the Brush tool, start blocking in the main shadow areas. Think about where light would hit the hair and where it would be obscured. Hair often has shadows where it bunches up or curves away from the light source.
- Soft Blending: Use the Water or Blur tool to gently blend the edges of your shadows, creating smooth transitions. You want the shadows to look natural, not harsh. This step is, like, very important for that soft look.
- Mid-tones and Deeper Shadows: Add another layer for even deeper shadows in areas that would receive very little light, like under the neck or deep within hair clumps. Use a slightly darker color for these.
Highlighting and Sparkle Effects
Highlights are what give Winx Club hair its magical shine and volume. This is where the "couture" really starts to show.
- New Layer (Above Shadows): Create a new layer for highlights. Set its blending mode to "Luminosity," "Screen," or "Overlay" for a glowing effect.
- Lighter Tones: Choose a lighter, more saturated version of your base hair color, or even a pale yellow or white for very bright highlights.
- Main Highlights: Use the Brush tool to paint in the main areas where light would hit the hair directly. These are usually along the top curves and outer edges of the hair masses. Think of them as broad strokes of light.
- Refined Highlights: On another highlight layer (or the same one, if you prefer), use a smaller brush to add thinner, more defined strands of light. These are the individual "shines" that give the hair texture and detail. You know, the little glints.
- Sparkle/Glow (Couture Touch): For that extra "couture" sparkle, create another layer set to "Luminosity" or "Glow." Use a very light color, perhaps white or a very pale version of the hair color. Use a small, hard brush to add tiny, bright dots or very thin, sharp lines of light. You can also use a custom brush that creates star or glitter shapes. This really makes the hair look magical. It’s, like, the cherry on top.
Refining Details
The final stage is all about polishing your work.
- Loose Strands: On a new layer, use a small Pen or Brush tool to draw a few individual loose strands of hair around the edges of the main mass. This makes the hair look more natural and less like a solid block.
- Color Adjustments: Review your colors. Do they look harmonious? You can use SAI’s "Hue/Saturation" or "Brightness/Contrast" adjustments (found under "Layer" > "New Layer" > "Filter") to fine-tune the overall color scheme of the hair.
- Clean Up: Use the Eraser tool to clean up any stray marks or edges that look messy.
- Add Texture (Optional): If you want more texture, you can try using a slightly textured brush on a low opacity layer to add subtle patterns that mimic hair strands.
Tips for DeviantArt Success
Once your Winx Club couture hair masterpiece is complete, you’ll probably want to share it with the world! DeviantArt is a fantastic platform for artists to showcase their work, connect with others, and get feedback. It’s, like, a big community.
Sharing Your Masterpiece
When you upload your art to DeviantArt, a few things can help it get noticed:
- High-Quality Image: Make sure your image is saved in a good quality format (like PNG or high-quality JPG) and at a decent resolution. A clear, crisp image makes a much better first impression.
- Descriptive Title: Give your artwork a clear and engaging title. Something like "Winx Club Couture Hair Practice - [Character Name]" or "My Original Character with Winx Style Hair" works well.
- Relevant Tags: Use plenty of relevant tags! This is how people find your art. Include tags like `winxclub`, `winx`, `fanart`, `digitalart`, `painttoolsai`, `hairtutorial`, `couture`, `magicalgirl`, and the character’s name if applicable. The more specific, the better. You know, it helps people find you.
- Artist's Comments: In the description box, tell people about your artwork. What inspired you? What challenges did you face? Did you use this tutorial? Sharing your process can be, like, really interesting to others.
Engaging with the Community
DeviantArt is not just for uploading; it’s a community.
- Give and Receive Feedback: Comment on other artists’ work, especially those with similar interests. Offer constructive criticism and be open to receiving it yourself.
- Join Groups: Look for Winx Club fan groups, Paint Tool SAI groups, or digital art groups. Sharing your work in these groups can get it seen by a targeted audience.
- Watch and Be Watched: Follow artists whose work you admire, and hopefully, they’ll follow you back!
Common Questions About Digital Hair Art
People often have similar questions when they’re trying to draw digital hair, especially in a specific style like Winx Club. Here are a few common ones.
How do you draw Winx Club hair?
Drawing Winx Club hair involves focusing on its signature characteristics: lots of volume, flowing movement, and prominent highlights. Start with a loose sketch to capture the overall shape and direction of the hair. Then, apply a solid base color. The key is to build up shadows and highlights in layers, using darker shades for depth and lighter, often shimmering, tones for shine. Don’t forget to add individual strands for texture and a few stray hairs to make it look natural. It’s, like, all about layering. You can learn more about digital art techniques on our site.
What brushes are good for hair in Paint Tool SAI?
For hair in Paint Tool SAI, you'll find several brushes quite useful. The standard "Pen" tool is excellent for clean line art and defining individual strands, especially with its stabilization settings. For coloring and blending, the "Brush" tool with a slightly soft edge is good for laying down base colors and soft shading. The "Water" or "Blur" tool is, you know, essential for blending colors smoothly to create that soft, flowing look. Some artists also like to use custom brushes with a slight texture for more realistic hair effects, but a simple round brush can achieve a lot.
Where can I find Winx Club art tutorials?
You can find many Winx Club art tutorials across various online platforms. DeviantArt itself is a huge resource, with countless artists sharing their processes, step-by-step guides, and even brush sets. YouTube is another great place for video tutorials, where you can watch artists draw in real-time. Art communities and forums often have dedicated sections for tutorials. Searching specifically for "Winx Club fan art tutorial," "Winx Club hair tutorial," or "Paint Tool SAI Winx art" on these platforms will, like, usually yield many results. You can also check out this page for more art drawing guides.
Conclusion
Creating Winx Club couture hair in Paint Tool SAI is a really rewarding artistic endeavor. It allows you to practice your digital painting skills while also celebrating a beloved animated series. By focusing on volume, flow, and those sparkling highlights, you can bring a true sense of magic to your characters' hairstyles. Remember that practice is key, and each time you draw, you'll get a little bit better. So, keep experimenting with brushes, colors, and blending techniques.
Don't be afraid to try new things, and, you know, just have fun with it. The digital art community, especially on platforms like DeviantArt, is full of supportive people who love to see new creations. So go ahead, open up Paint Tool SAI, and let your imagination take flight. We can't wait to see the amazing Winx Club couture hair you'll create today, which is, like, a truly exciting prospect!
- What To Draw To Represent The Crossover
- Stardew Valley Bathroom Furniture Mod
- We Had A Splashing Great Year Gift Tag
- Yellow Smiley Face Phone
- Percival Seven Deadly Sins