Have you ever looked at a beautiful horse and wished you could capture its grace on paper? It’s a feeling many of us share, that desire to create something lovely with our own hands. Maybe you think drawing a horse is something only experienced artists can do, but that is simply not the case. With the right approach, anyone can learn to sketch these magnificent animals, and it is a very rewarding activity, too.
Perhaps you are a beginner just picking up a pencil, or maybe you are looking to polish skills you already have. Either way, learning how to draw a horse can be a very fun and accessible journey. This guide, you know, will walk you through each step of creating a lovely horse drawing, making it feel quite achievable for everyone. We will go through it together, bit by bit.
This easy tutorial is perfect for kids and beginners alike, so you can draw a great horse, whether it is a pretty cartoon pony or something a bit more realistic. We will show you how to draw a horse in easy steps, and this free drawing lesson, you see, progressively builds upon each previous step until you get to a complete picture. It is a very satisfying process.
Table of Contents
- Why Learn Horse Drawing?
- Getting Started: Your Drawing Toolkit
- Understanding Basic Horse Shapes for Artists
- How to Draw a Horse: An Easy Step-by-Step Method
- Cartoon vs. Realistic Horse Drawing: What's Your Style?
- Helpful Ideas for Better Horse Drawings
- Working Through Common Horse Drawing Hurdles
- Frequently Asked Questions About Horse Drawing
Why Learn Horse Drawing?
There is something quite special about horses, isn't there? Their strength, their speed, and their gentle nature all make them truly captivating. For many, drawing them is a way to connect with that beauty. It is a very peaceful hobby, and it helps you see the world around you with a more observant eye. Plus, it is just plain fun to create something new.
Learning to draw these animals can also help you with other drawing skills. You learn about proportions, how light falls on a form, and how to show movement. These are all things that, you know, make any drawing better. It is a bit like learning to ride a bicycle; once you get the hang of it, you can go anywhere.
So, whether you dream of sketching majestic wild horses or just want to doodle a cute pony for a friend, starting with horse drawing is a wonderful idea. It is a skill that, with a little practice, will bring you much joy. And, you know, anyone can do it.
- Beyonce Memes
- Adidas Gazelle Maroon
- Bob Hairstyle For Short Hair
- White Leg Warmers Fuzzy Cheap
- Boron Trichloride Lewis Structure
Getting Started: Your Drawing Toolkit
You do not need a lot of fancy supplies to start your horse drawing adventure, actually. Just a few basic items will do the trick. A simple pencil, maybe a few different hardness levels like a B for lighter lines and a 2B for darker ones, is a good start. That, and a good eraser, of course, are really your main tools.
Some paper is quite important, too. Any plain paper will work fine for practice, but if you want to keep your drawings, a slightly thicker sketch pad can be nice. You might also want a ruler, just to help with initial straight lines, though you will mostly be drawing freehand. It is all pretty straightforward, you see.
And that is, more or less, all you really need to begin. You do not have to go out and buy a whole art store. Just gather these few things, find a comfy spot, and you are pretty much ready to go. It is very accessible, which is nice.
Understanding Basic Horse Shapes for Artists
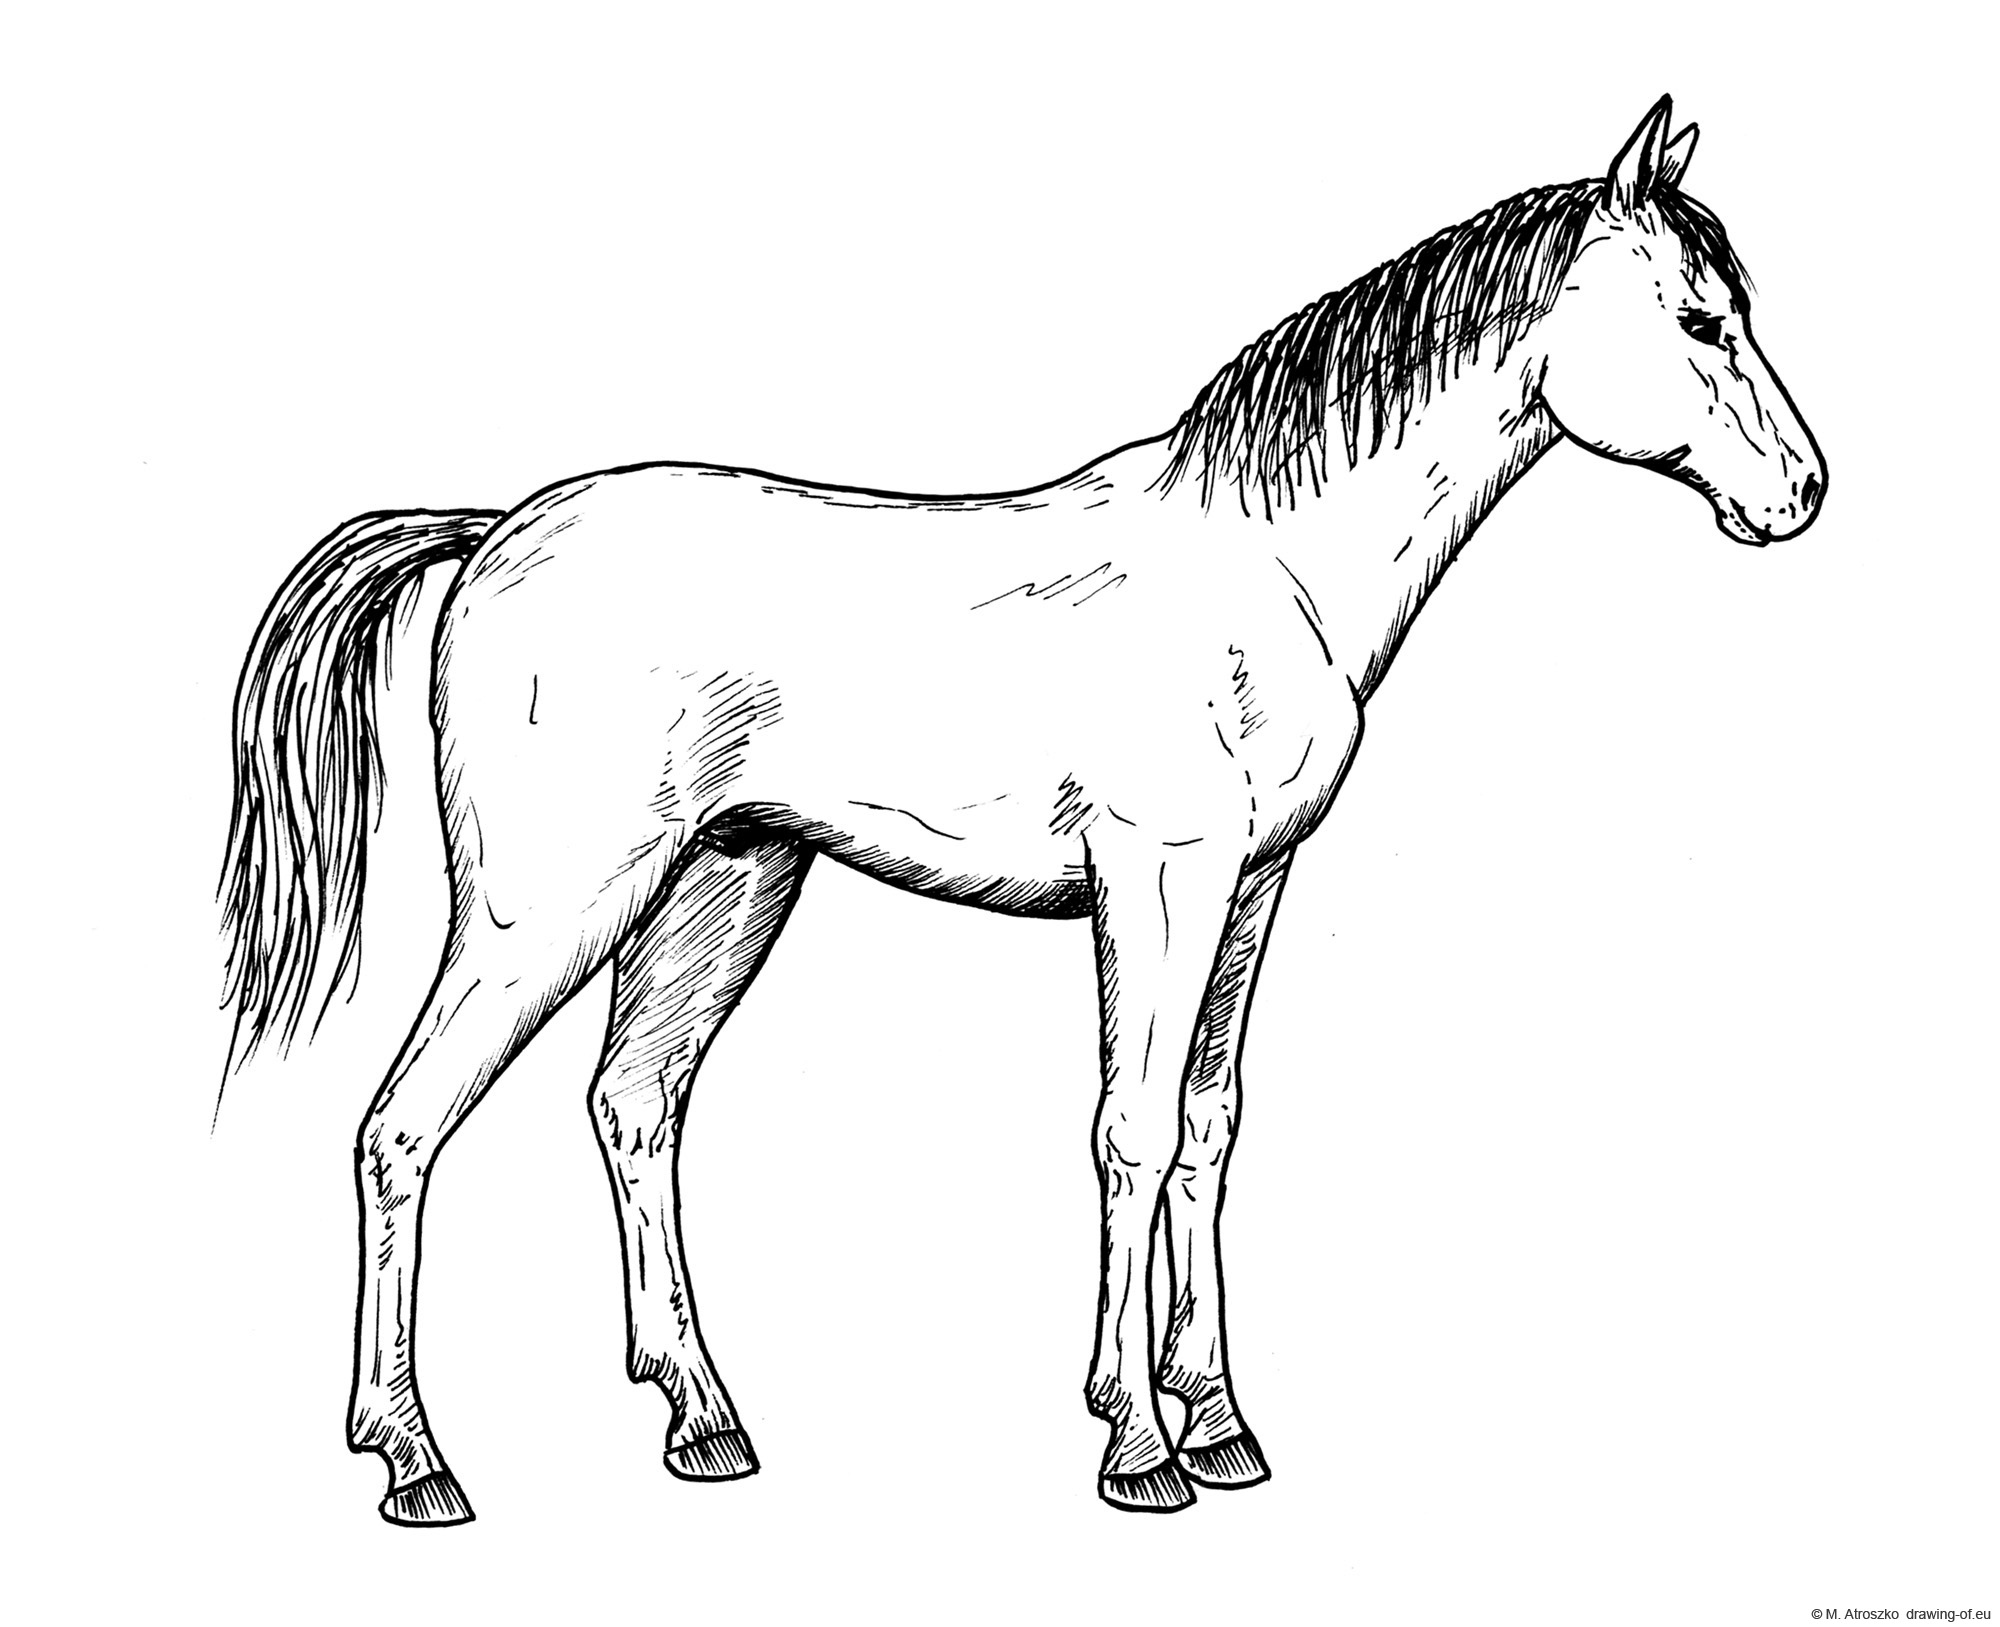
Before we jump into the steps, it helps to think of a horse as a collection of simple shapes. This makes the whole process much less daunting, you know. Think of the main body as a couple of circles or ovals. The chest might be one oval, and the hindquarters another, slightly larger one. These will be your starting points, basically.
The neck can be seen as a curved rectangle or a slightly tapered tube connecting the head to the body. The head itself, well, it is a bit like a wedge shape, or maybe a flattened oval for the skull and a smaller, rounded rectangle for the muzzle. It is all about breaking down the complex into simpler parts, you see.
For the legs, think of them as straight lines with circles for the joints, or perhaps even simple cylinders. This way of looking at things helps you get the proportions right before adding all the finer details. It is a really good trick for any kind of drawing, honestly.
How to Draw a Horse: An Easy Step-by-Step Method
Alright, so now we get to the fun part: drawing the horse! This easy guide will walk you through each step of creating a beautiful horse drawing. We are going to follow a method that builds up your drawing bit by bit, making it simple to follow along. It is, you know, a very straightforward process.
Step 1: Beginning with Simple Forms
Start by drawing two main oval shapes on your paper. One oval should be for the chest area, and another, slightly larger one, for the hindquarters. Leave some space between them, as this will be where the body connects. These are your foundational shapes, kind of like the skeleton of your drawing. Make these lines very light, as you will erase them later.
Now, just a little bit above and to the left of your chest oval, draw a smaller, somewhat rounded shape for the head. This could be, you know, like a slightly squashed circle. Remember to keep all these initial lines very faint. It is all about getting the basic placement right at this stage.
Step 2: Connecting the Main Parts
Next, it is time to connect these basic shapes. Draw two curved lines to form the neck, joining the head shape to the chest oval. Think of a gentle curve, not too stiff. These lines should, you know, flow smoothly.
Then, connect the chest oval to the hindquarters oval with a line for the back and another for the belly. The back line should have a slight dip, and the belly line will curve gently downwards. This begins to give your horse its body shape, you see. It is all coming together, slowly but surely.
Step 3: Shaping the Body and Neck
Now, let's refine those body and neck lines. Make them a bit more defined, erasing any parts of the original ovals that stick out too much. You are essentially sculpting the horse's form. The neck should appear strong and gracefully curved, and the body should look solid. It is, you know, about making those lines feel more alive.
Pay a little attention to where the neck meets the body, making sure it looks natural. The back line should show a subtle curve, and the belly line should also have a gentle curve. This step really starts to make your horse look like a horse, actually.
Step 4: Adding the Legs
This part can feel a bit tricky, but take it slow. For the legs, draw thin, straight lines extending downwards from the body for the upper parts. Then, add small circles for the joints, like the knees and hocks. From these joints, draw more lines for the lower legs. It is, more or less, like building a stick figure first.
At the bottom of each leg, draw small, somewhat rounded shapes for the hooves. Remember that horse legs are quite slender, but they have distinct joints. You want them to look strong enough to support the body, obviously. This step, you know, gives your horse its ability to stand.
Step 5: Defining the Head and Face
Let's focus on the head now. Refine the initial head shape to look more like a horse's head. Add a slight curve for the forehead and a gentle slope down to the muzzle. Draw two small, pointed shapes for the ears on top of the head. These can be, you know, a bit like little leaves.
Place the eye towards the front of the head, and draw the nostril near the end of the muzzle. A small line can indicate the mouth. Remember that a horse's face has a very distinct profile, so try to capture that gentle curve. It is a really important part of making your horse recognizable.
Step 6: Drawing the Mane and Tail
Now for the flowing parts! Draw the mane along the top of the neck, starting from behind the ears and going down towards the shoulders. You can make it long and flowing, or shorter and more upright, depending on the kind of horse you are drawing. Use wavy lines to show movement. It is, you know, a bit like drawing hair.
For the tail, draw it starting from the hindquarters, letting it sweep downwards. Again, use flowing, wavy lines to give it a sense of movement and volume. The tail can be quite bushy or a bit thinner, whatever you prefer. These elements really bring your horse to life, actually.
Step 7: Refining Details and Features
This is where you add the finer touches. Go over all your lines, making them darker and more confident. Add details like the muscles in the legs and body, subtle shading to give it depth, and perhaps some texture to the coat. You can, you know, add a bit more personality here.
Refine the eyes to give them expression, and make the nostrils and mouth look more realistic. Add any small markings or features you like. This is where your horse truly starts to become unique. It is a very satisfying part of the process, honestly.
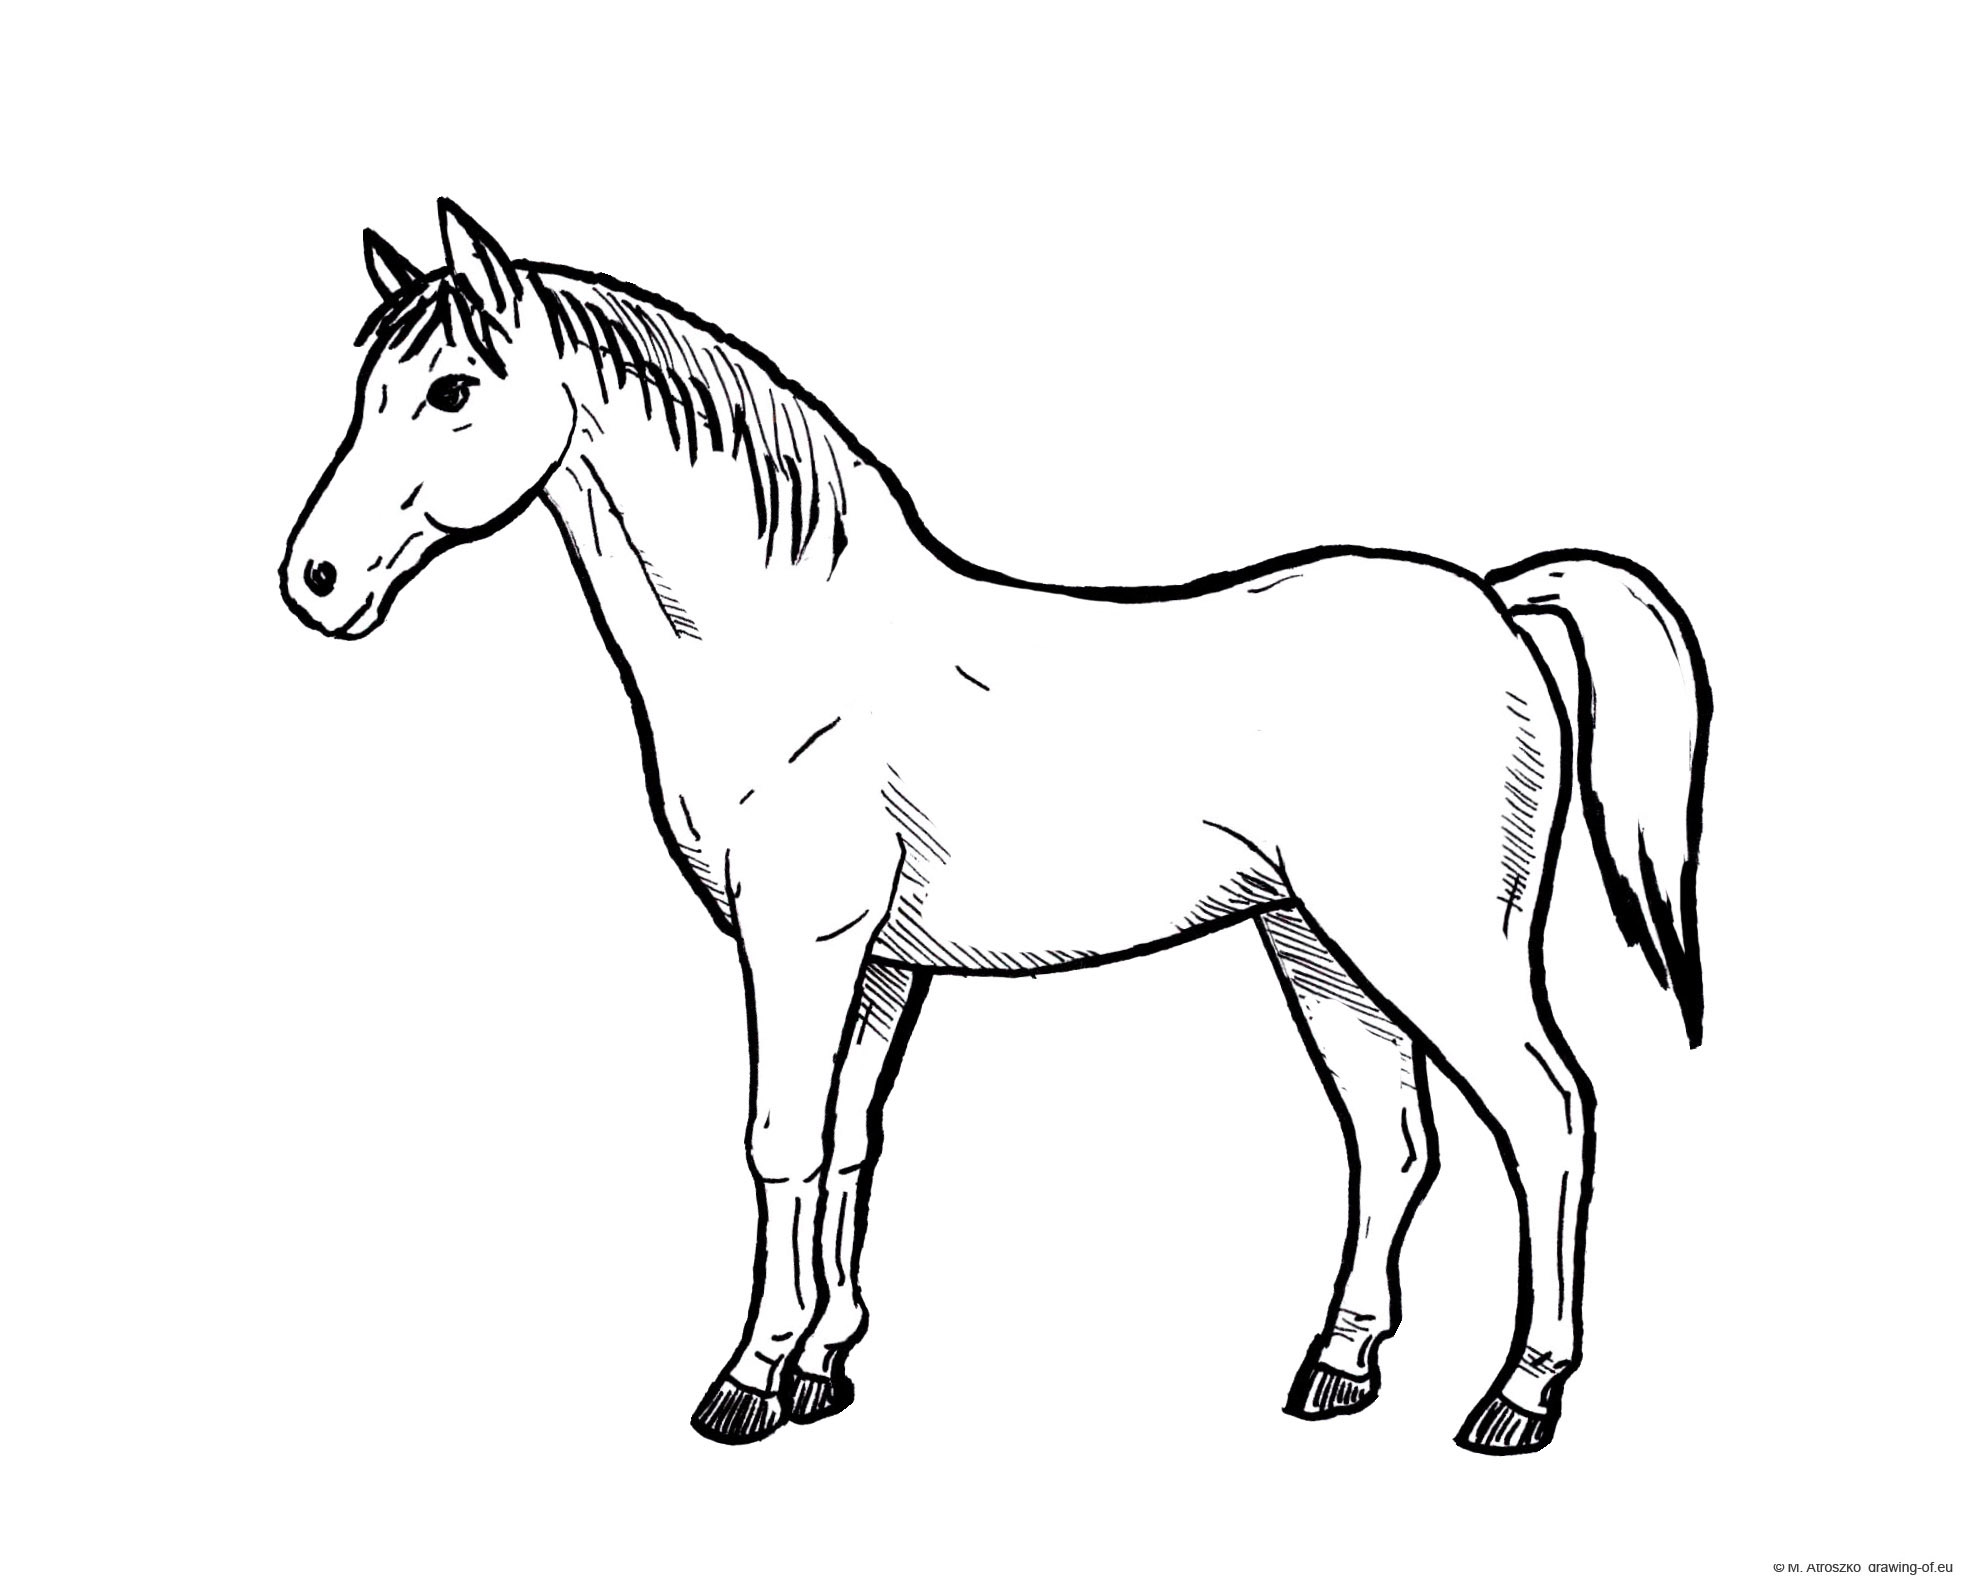
Step 8: Cleaning Up and Finishing Touches
Finally, it is time to clean up your drawing. Gently erase all those initial light construction lines you drew in the first few steps. You want only your final, clean lines to remain. This makes your drawing look very polished and professional.
You can also add some final shading or even a simple background if you like. Step back and look at your drawing. Does it look like a horse? You have just drawn a horse, and that is a pretty great accomplishment! It is, you know, quite a rewarding feeling.
Cartoon vs. Realistic Horse Drawing: What's Your Style?
As you get more comfortable with horse drawing, you might wonder if you should draw cartoon horses or realistic ones. Both are very fun, and your choice, you know, really depends on what you enjoy most. My text mentions both pretty cartoon horses and easy realistic ones, so let's think about them.
Cartoon horses often have exaggerated features: bigger eyes, smaller bodies, and sometimes very simple shapes. They are great for expressing personality and can be very charming. If you like whimsical and playful art, then cartoon horse drawing might be just your thing. They are, you know, a bit more forgiving if your proportions are not perfect.
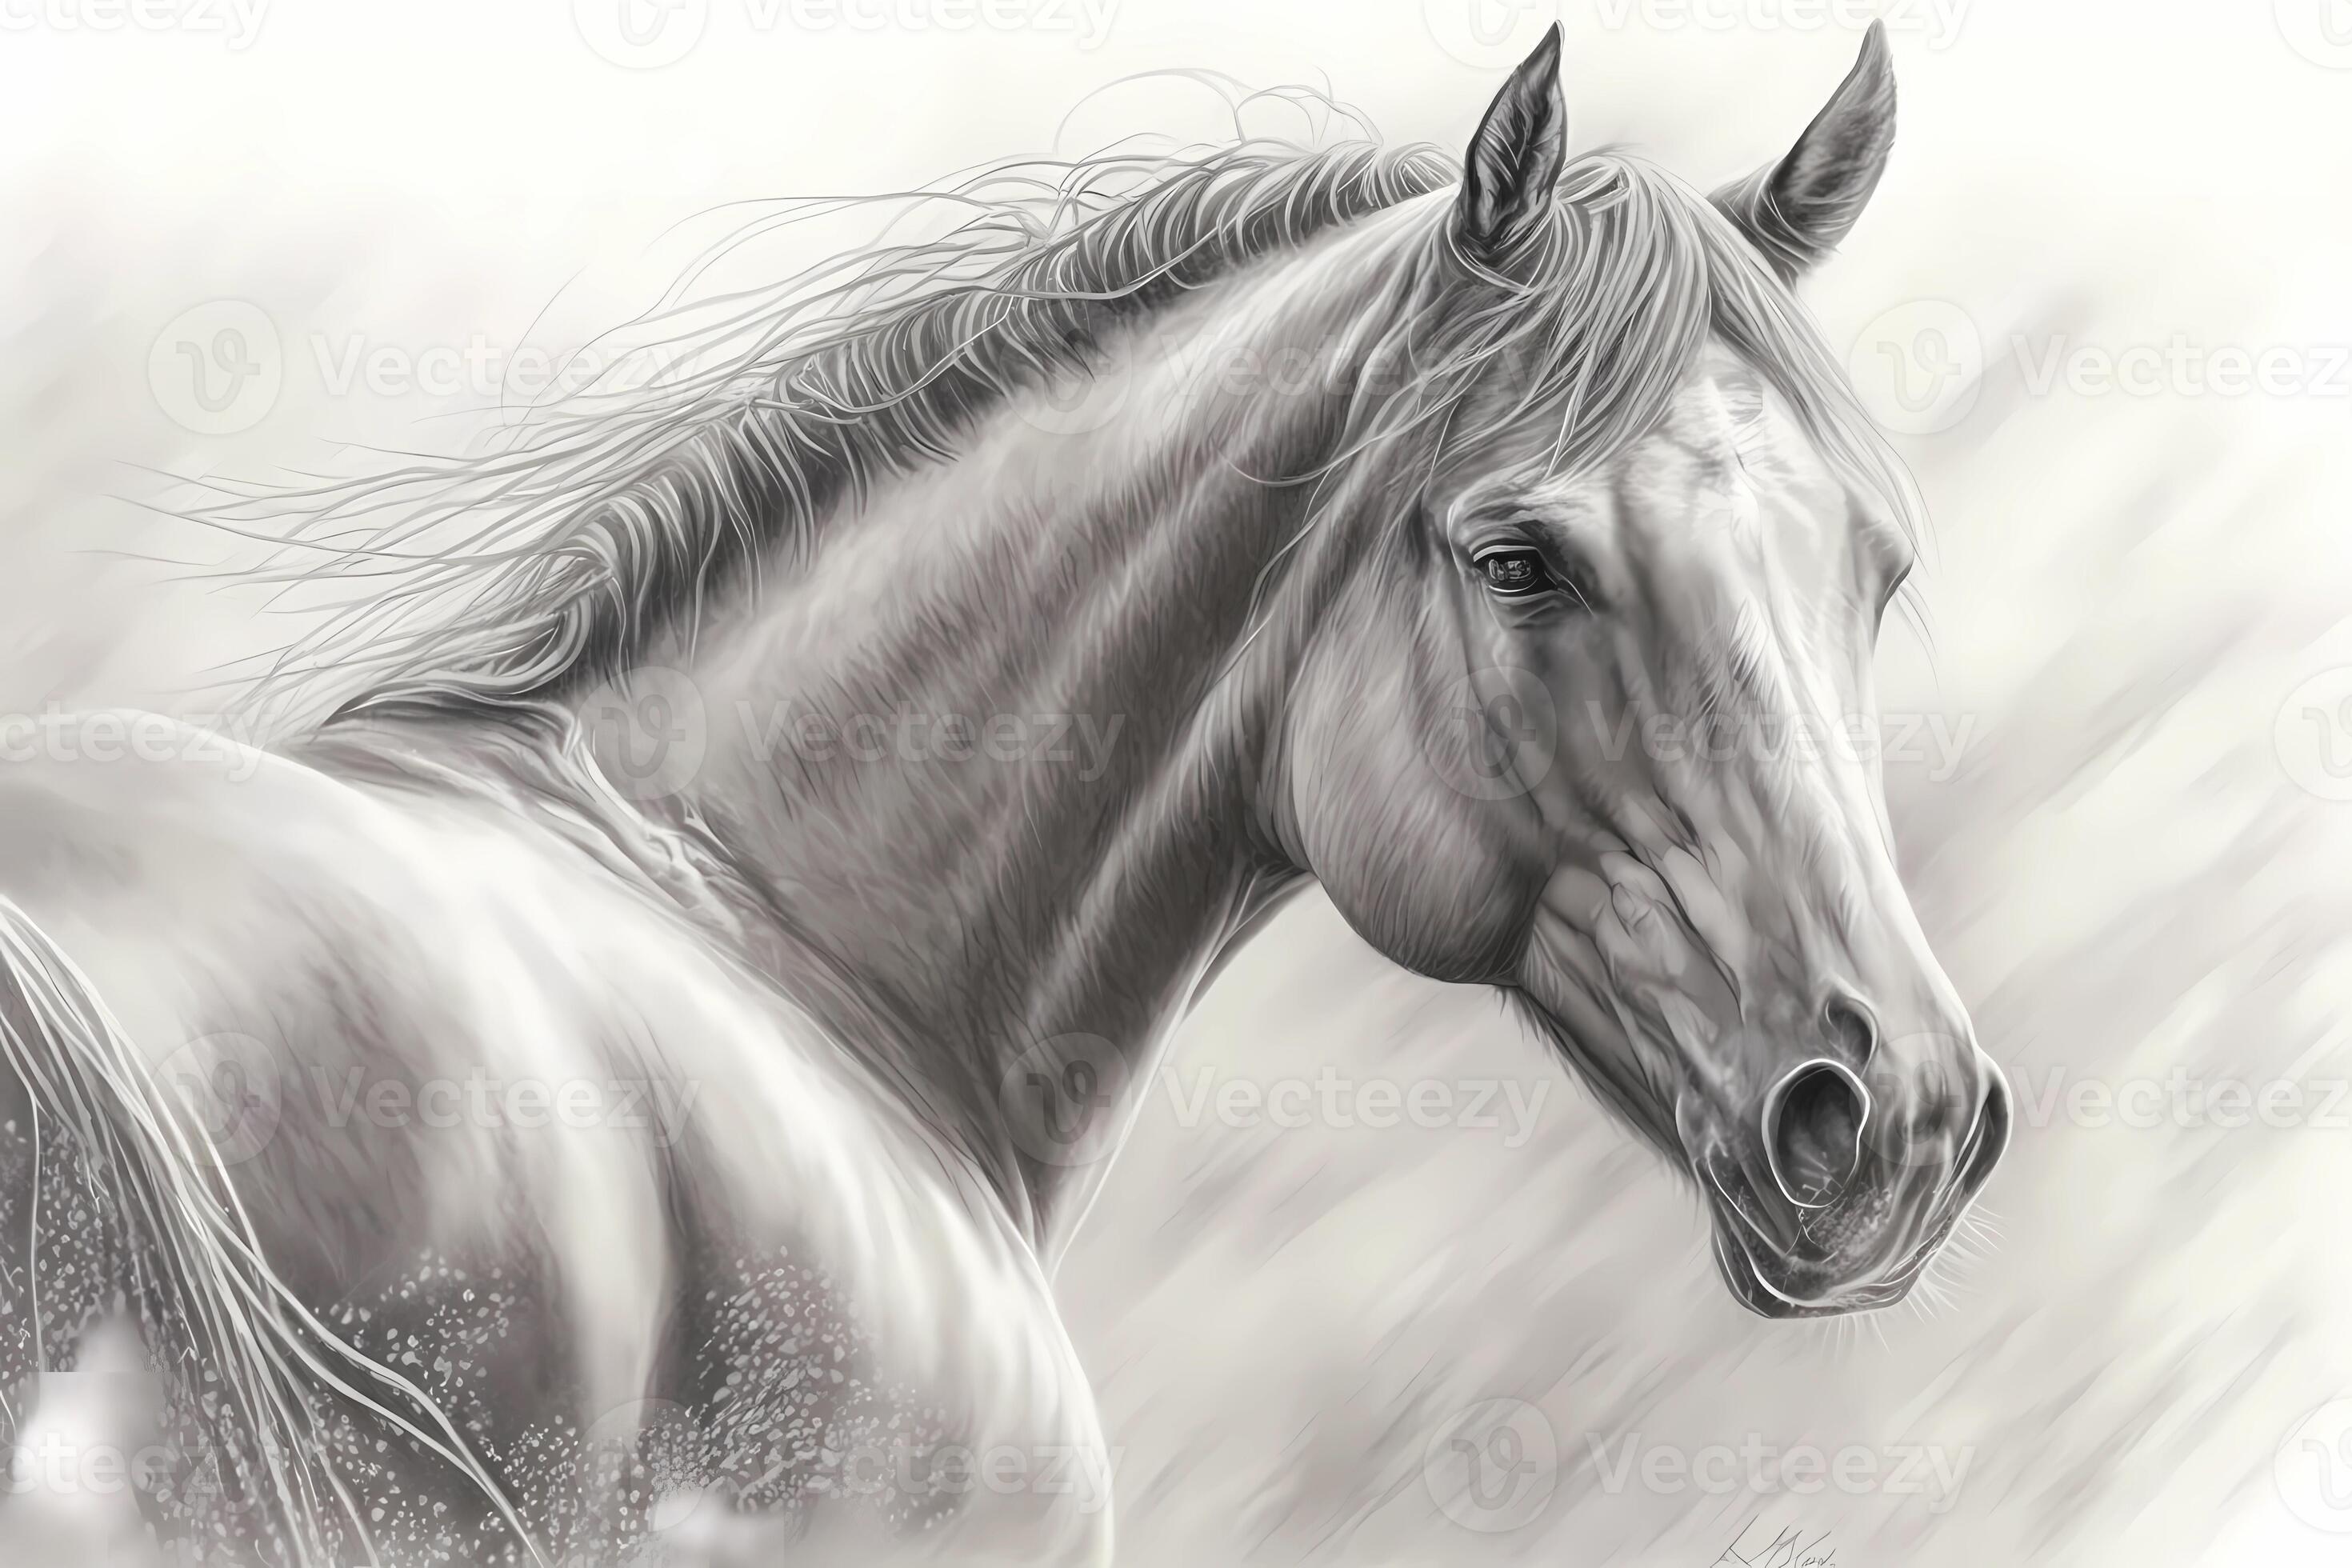
Realistic horse drawing, on the other hand, aims to capture the true likeness of a horse. This means paying closer attention to anatomy, proportions, and how light and shadow play on the form. It can be more challenging, but also very rewarding when you get it right. It is, you know, about observing the real world very closely.
Many artists start with a cartoon style to get the hang of basic shapes and then move towards more realistic drawings as their skills grow. Or, you might just prefer one style over the other, and that is perfectly fine! The important thing is to have fun with it, you know.
Helpful Ideas for Better Horse Drawings
Want to improve your horse drawing skills even more? There are always ways to get better, you know. One good idea is to look at lots of pictures of horses. Study their shapes, how their legs bend, and how their heads are formed. The more you observe, the better your drawings will become, honestly.
Practice regularly, even if it is just for a few minutes each day. Drawing is a skill that, like playing an instrument, gets better with consistent effort. Do not be afraid to make mistakes; they are part of the learning process. You can, you know, learn a lot from a drawing that did not quite turn out right.
Try different angles and poses. Instead of always drawing a horse standing still from the side, try drawing it running, or from the front, or even from behind. This will challenge you and help you understand the horse's form better in three dimensions. It is, you know, a way to really push your abilities.
Consider looking at how other artists draw horses. You can learn so much from seeing different styles and techniques. Just remember to use them as inspiration, not as something to copy exactly. Your own style, you know, will naturally develop over time. For more general drawing tips, you might find this resource helpful: Art is Fun Drawing Tips.
Working Through Common Horse Drawing Hurdles
It is totally normal to face some challenges when you are learning horse drawing. Everyone does, you know. One common hurdle is getting the proportions right. Sometimes the legs might look too short, or the head might seem too big. If this happens, go back to those basic shapes we talked about. They are, you know, your best friends for getting the size relationships correct.
Another thing people sometimes struggle with is making the horse look natural, not stiff. Horses are very fluid animals. To help with this, try to draw with flowing, curved lines rather than rigid, straight ones. Imagine the horse moving, even when it is standing still. This can, you know, really make a difference.
Getting the legs to look right can also be a bit tricky, honestly. They have many joints and can seem complicated. Remember to break them down into segments and focus on the angles of those segments. Practice drawing just legs until you feel more comfortable. It is, you know, a bit like building a puzzle, piece by piece.
Do not get discouraged if your first few horse drawings are not perfect. That is completely okay! Every drawing is a step forward. Just keep practicing, and you will see amazing progress over time. You can, you know, always try again. Learn more about drawing fundamentals on our site, and perhaps link to this page other animal drawing tutorials for more practice.
Frequently Asked Questions About Horse Drawing
How do you draw a horse for beginners?
For beginners, the easiest way to draw a horse is by starting with simple shapes like ovals and circles for the main body parts. Then, you connect these shapes with curved lines to form the neck and body. Gradually add the legs, head, and tail, refining the lines as you go. It is a step-by-step process that, you know, builds up the drawing layer by layer.
What is the easiest way to draw a horse?
The easiest way to draw a horse involves breaking it down into basic geometric forms first. Think of the chest and hindquarters as ovals, the neck as a curved tube, and the head as a wedge. This simplifies the overall structure, making it much easier to get the proportions right before adding any details. It is, you know, a very effective method for starting out.
What are the basic shapes to draw a horse?
The basic shapes for drawing a horse typically include two main ovals for the chest and hindquarters, a smaller oval or rounded shape for the head, and curved lines to connect these parts for the neck and body. For the legs, you can start with straight lines and small circles for the joints. These simple forms, you know, create a solid foundation for your drawing.
- Three Sentences Zine
- Horror Film Posters
- The Word Class In 3d
- Vergil From Devil May Cry 5 Lockscreen
- Bear From Lorax